Hosting a dinner party is a wonderful opportunity to connect with your friends and family and make a ...


Hosting a dinner party is a wonderful opportunity to connect with your friends and family and make a ...
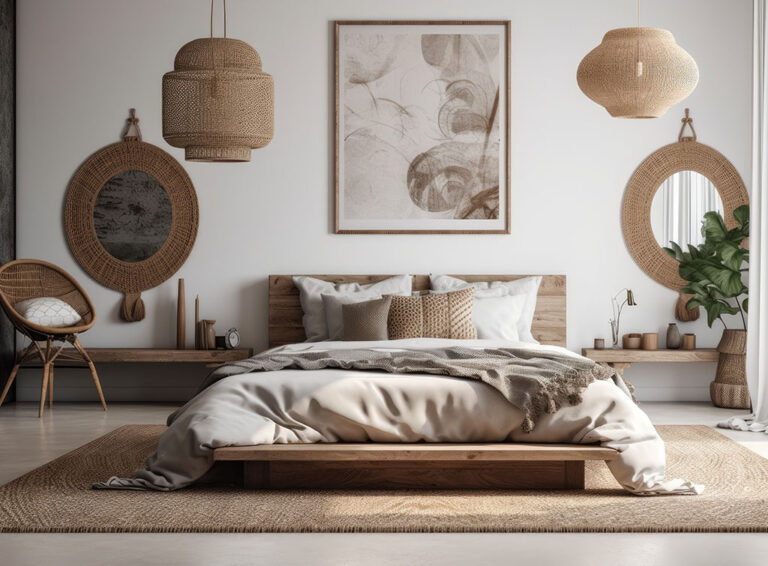
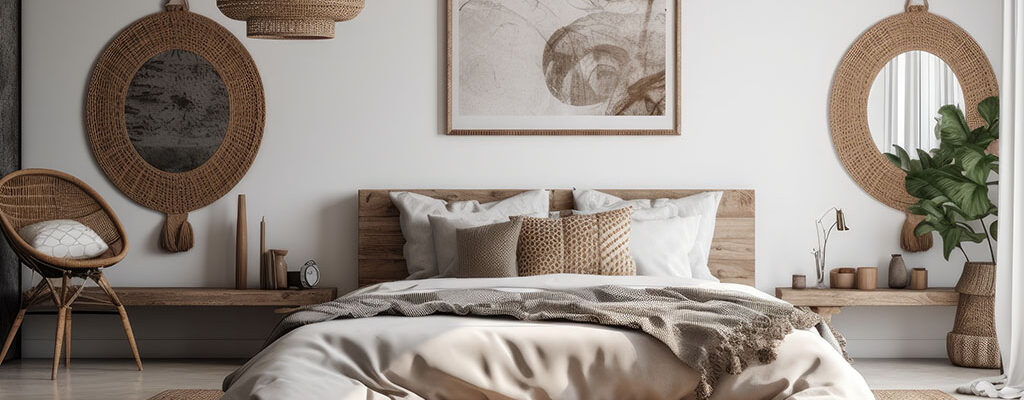
Your bedroom is the space where you unwind, relax, and recharge. Therefore, creating a stylish ...

In a world where technology continues to evolve at a rapid pace, so too do ...

Finding a reliable auto mechanic can be a daunting task. With so many ...

When the open road calls, the heart of any adventure often lies in the reliable rumble of ...
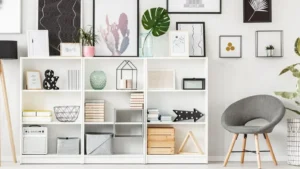
There's no reason why your storage room can't be as functional as possible. Really, after sorting ...

Spruce up your home and protect the planet with these great, green interior tips These days, we’re ...

Are you looking to give your bathroom a fresh look? Start with the bathtub. A small change can make ...

If you really want to have an organized home but you find that reaching this goal and keeping on top ...
Trish here! I’m a stay at home mom, a writer, a blogger. I love my family – three kids and a husband. We also have a cat and a dog. Our household can seem pretty busy at times, but everyone always pitches in to help out Read More…